
Quick Start Guide
Welcome to StowFindSell — the AI home inventory app that turns "I should really catalog our stuff" into take photos, tap approve. This guide walks you through your first ten minutes and shows you where everything lives.

Step 1: Set up (or join) your household
Everything in StowFindSell belongs to a household — your shared inventory space.
- Starting fresh? Create a household when you first sign in. You'll get 7 starter locations (Living Room, Kitchen, Garage, Closet, and more) and a full set of categories, ready to go.
- Joining family? Ask the household admin for the 6-character join code (they'll find it in Settings → Sharing & Invites) and enter it at sign-up. You'll land inside the shared inventory automatically.
Each member has a role: Admin (full control), Editor (add, edit, and sell items), or Viewer (browse and search only).
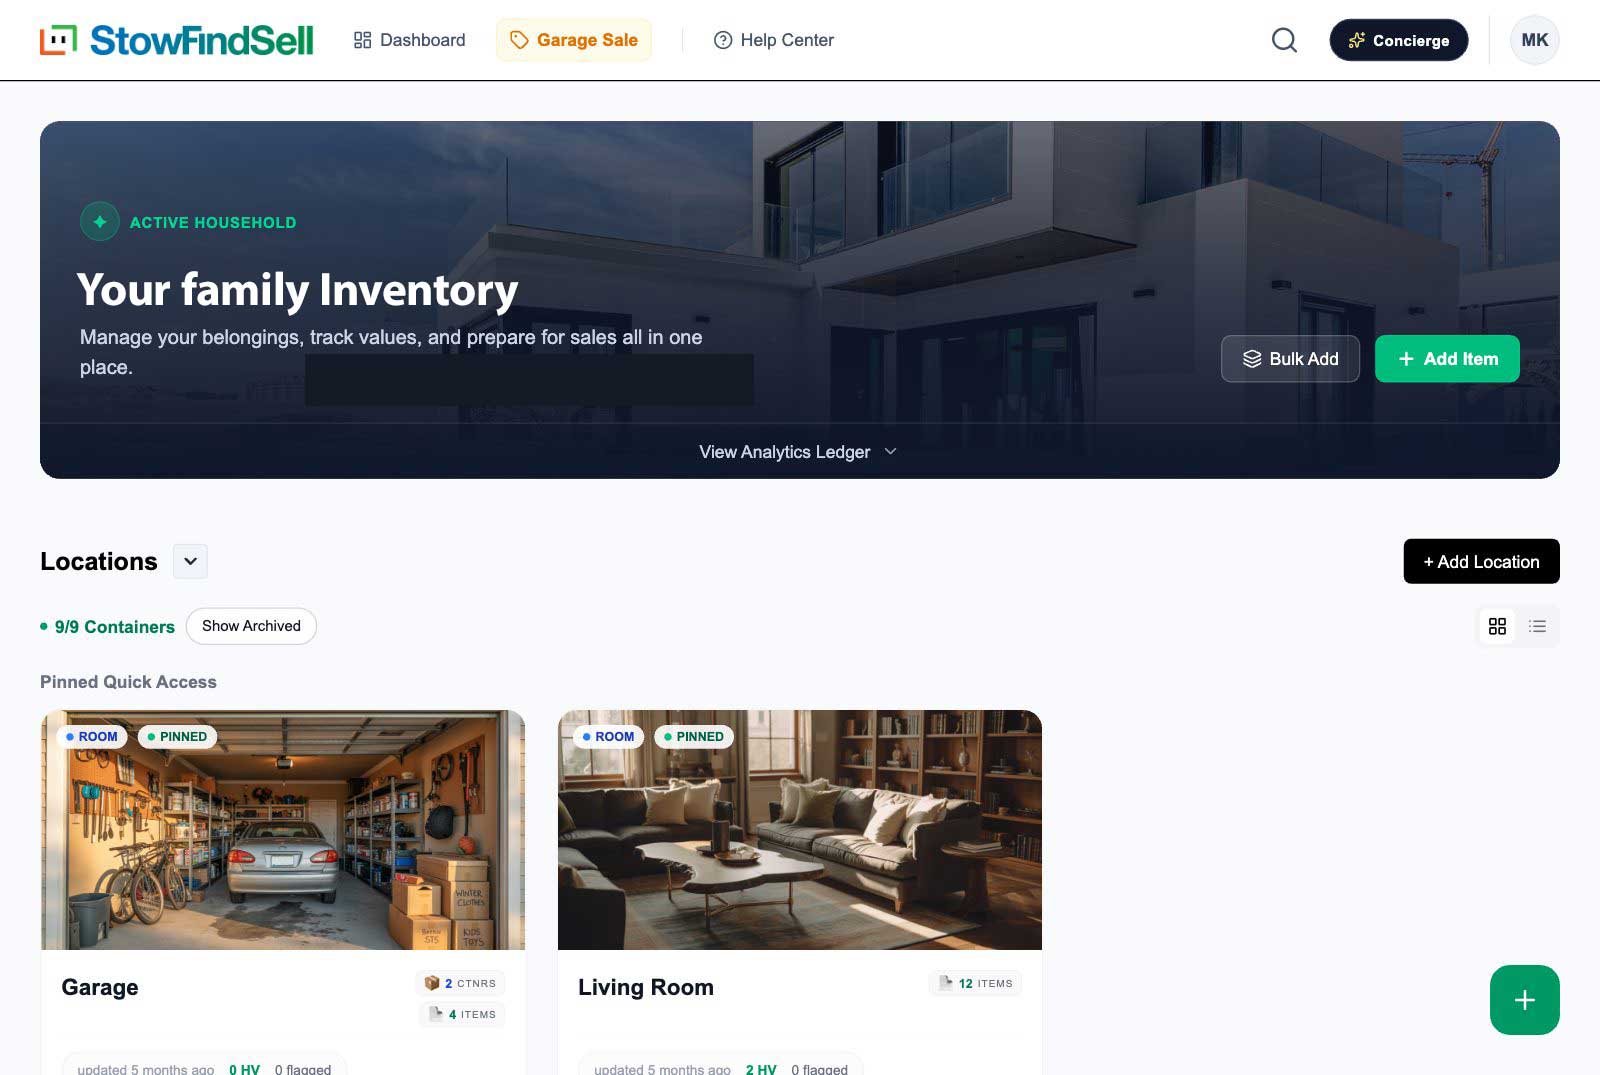
Step 2: Add your first item — just take a photo
From the Dashboard, tap the + button (bottom-right) and choose Add Item.
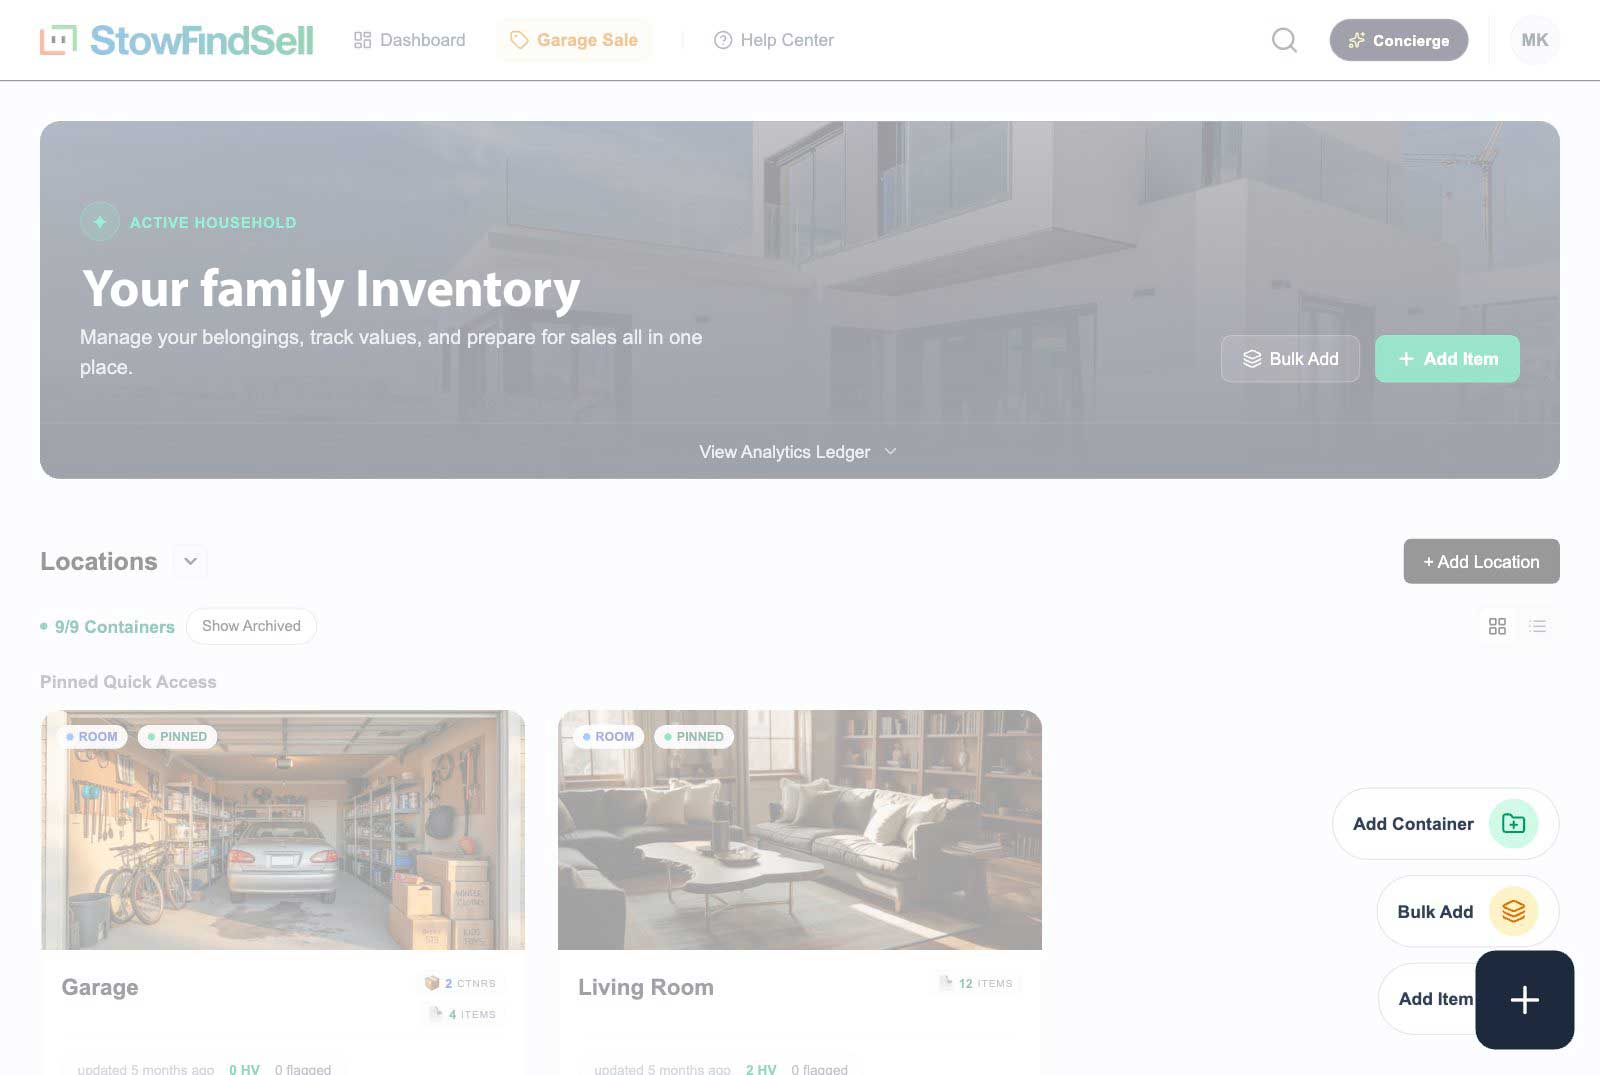
- Snap or upload a photo. No Wi-Fi in the attic? Take photos now, upload later.
- AI does the naming. On Home and Family Pro plans, AI Vision suggests the item's name, category, description, tags, and an estimated value — from the photo alone.
- Skip the typing. Only fill in what you care about. Everything is editable later.
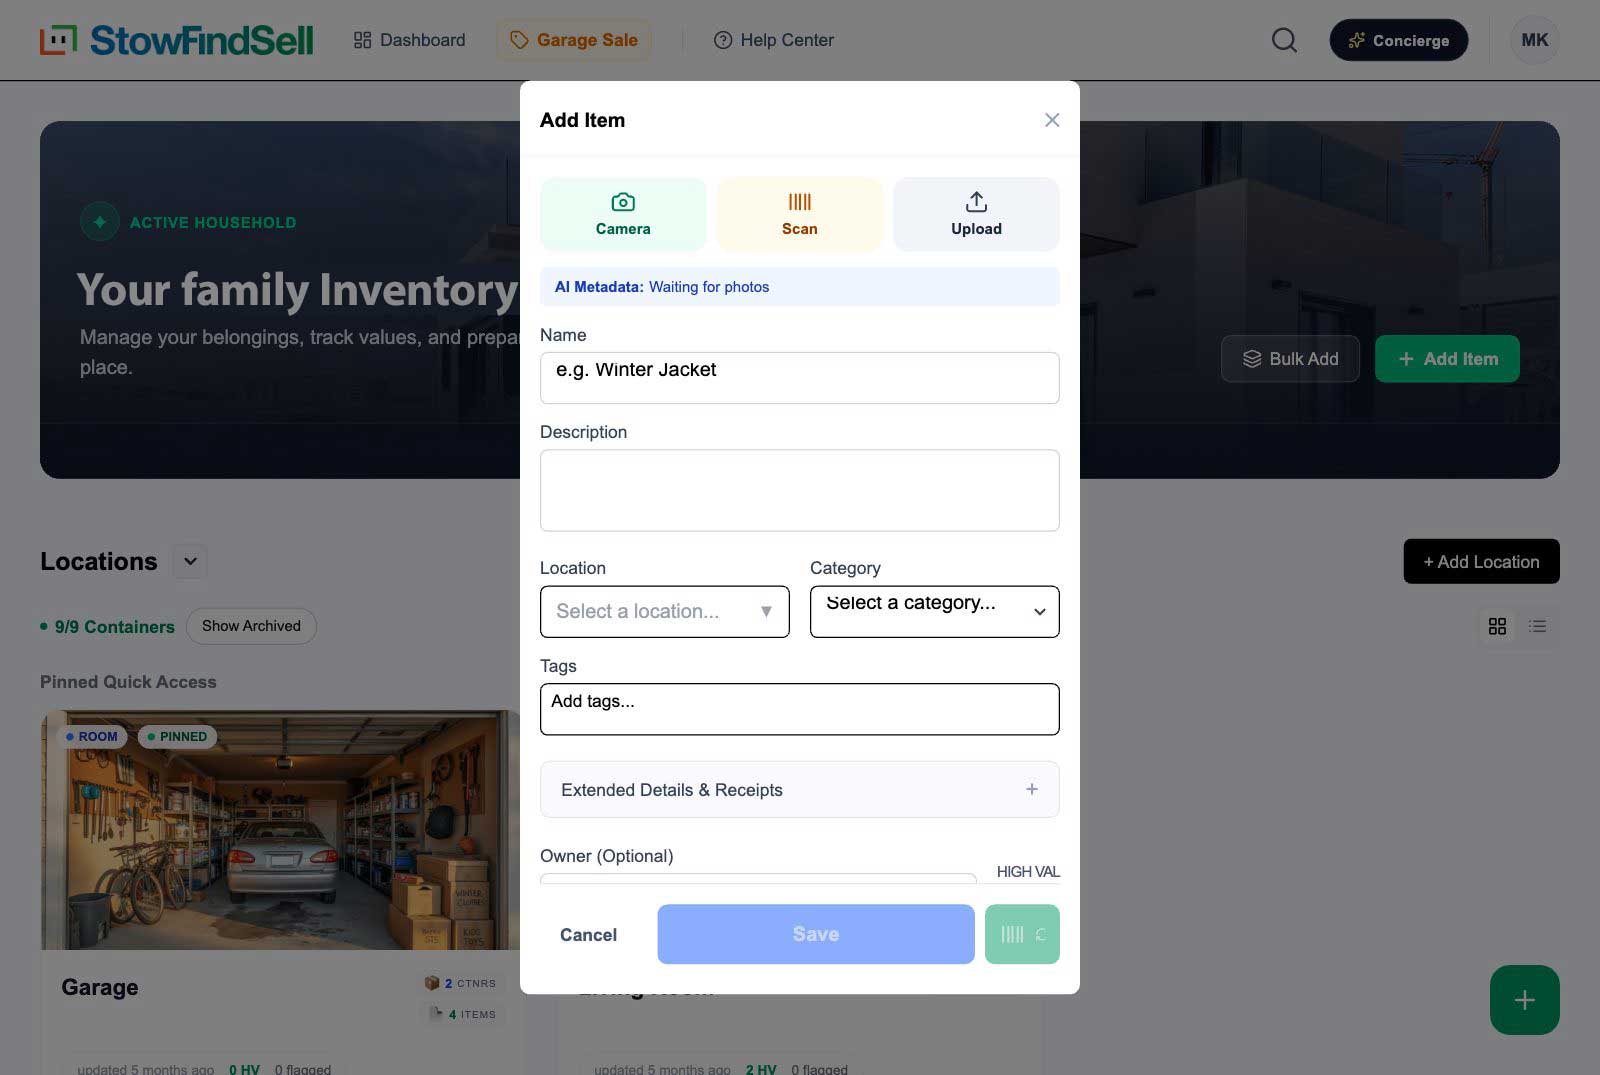
Have a stack of retail products or books? Use the barcode scanner (Starter plan and up) inside the Add Item screen — point your camera at any barcode or ISBN for an instant lookup.
Adding a whole shelf or bin at once? Use Bulk Upload from the + button: take a batch of photos, group them by item, and AI processes the whole batch while you do something else.
Already have a spreadsheet or an export from another app? Go to All Items → Import CSV and bring it all in at once. Nothing you've built elsewhere is wasted; see Adding & Managing Items for the details.
Step 3: Review and approve AI suggestions
AI never writes directly into your inventory. Items analyzed by AI land in the Requires Review queue on your Dashboard:
- Open a reviewed item and you'll see the AI's suggestions.
- Accept All Suggestions fills in the blanks (it never overwrites anything you typed yourself).
- Dismiss keeps the item as-is.
Bad guess? Tweak any field and save — that counts as your approval.
Step 4: Tell the app where things live
StowFindSell mirrors your real home with Locations (rooms, storage units) and Containers (bins, boxes, shelves) — nested as deep as you like: Garage → Metal Shelf → Blue Bin.
- Manage them from the Dashboard, where your locations are listed.
- Give bins a QR label: go to Print QR Codes (profile menu, top-right), print a sheet, and stick them on. Scanning a bin's code later shows you exactly what's inside — with photos.
Step 5: Find anything, sell the rest
- Find: the search bar in the top navigation searches everything — names, brands, categories, tags, owners, locations. There's a full search page for filtering and table views.
- Sell: open the Garage Sale hub (top navigation) to list items for sale. AI suggests local-market prices based on your zip code, you get a public share link for Facebook Marketplace or Nextdoor, buyers message you through a private inbox, and the built-in point of sale tracks every haggle and payment. (Home plan and up.)
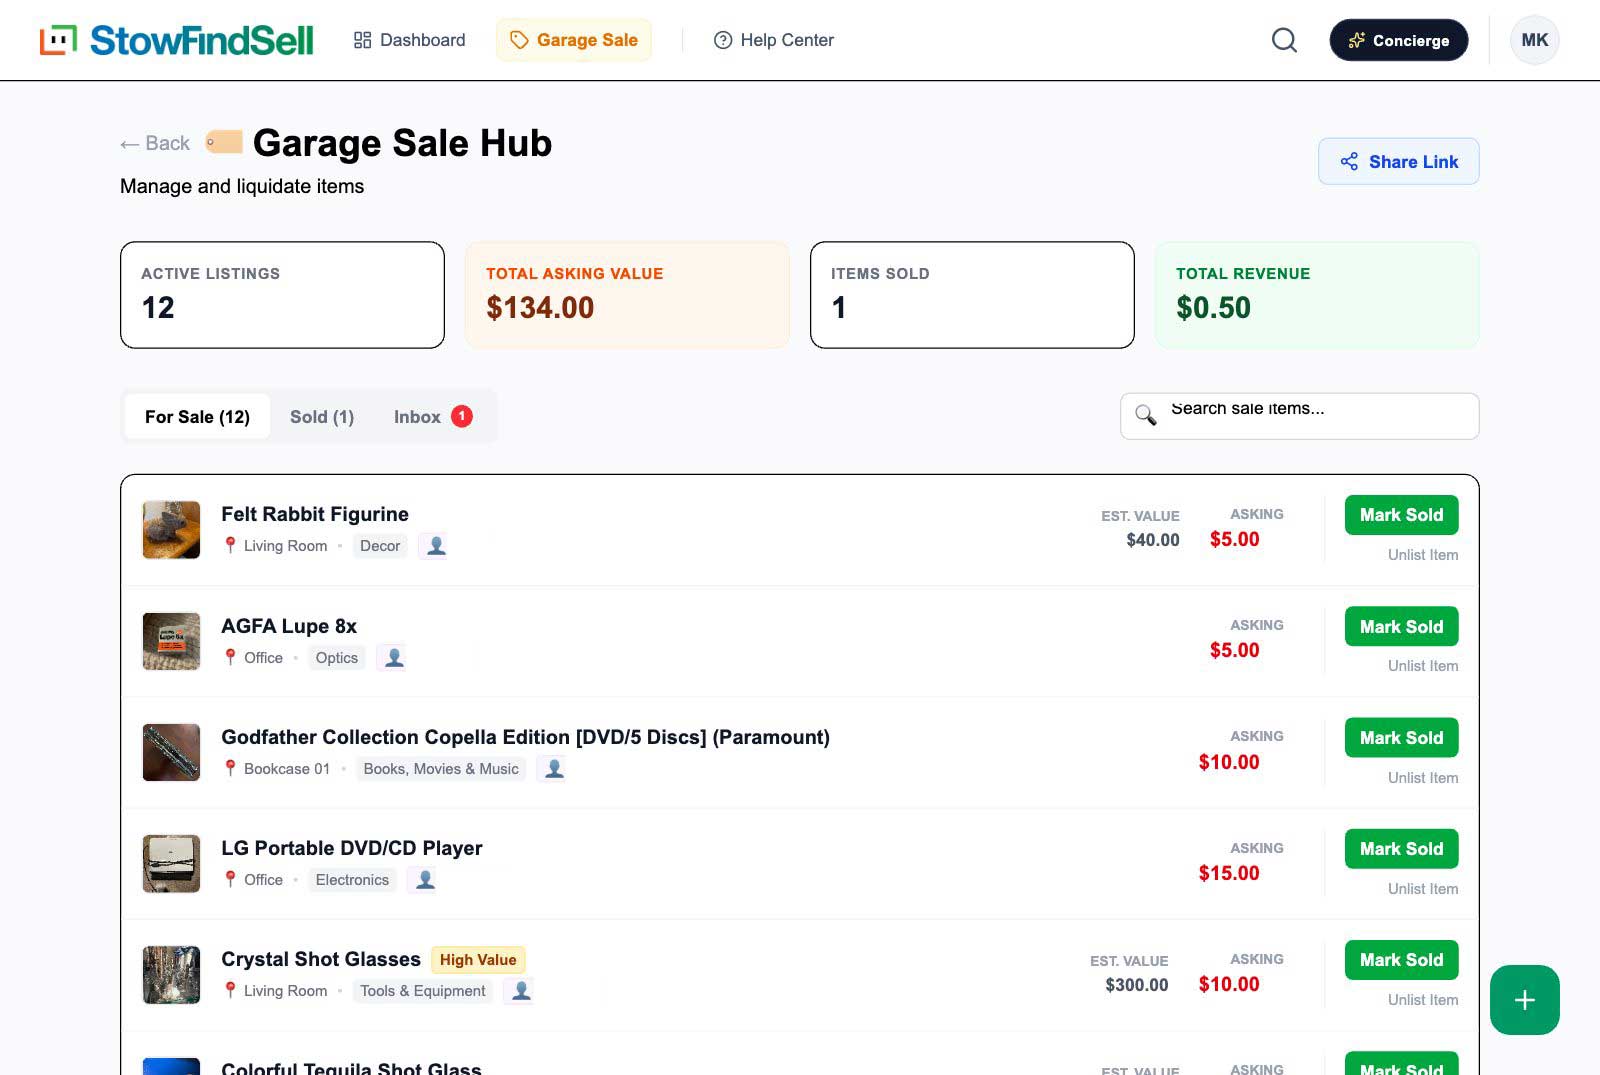
Where everything lives
| Feature | Where to find it |
|---|---|
| Dashboard (locations + review queue) | Dashboard in the top navigation |
| Add item / bulk upload / add location | + button (bottom-right) |
| Search everything | Search bar, top navigation |
| All items (table view) | Profile menu → All Items |
| Garage Sale hub | Garage Sale in the top navigation |
| SFS Concierge (AI assistant) | Concierge button, top-right |
| Print QR codes | Profile menu → Print QR Codes |
| Export insurance Proof Pack | Profile menu → Export Proof Pack |
| Household settings, invites & billing | Profile menu → Household Settings (admins) |
Meet your AI Concierge
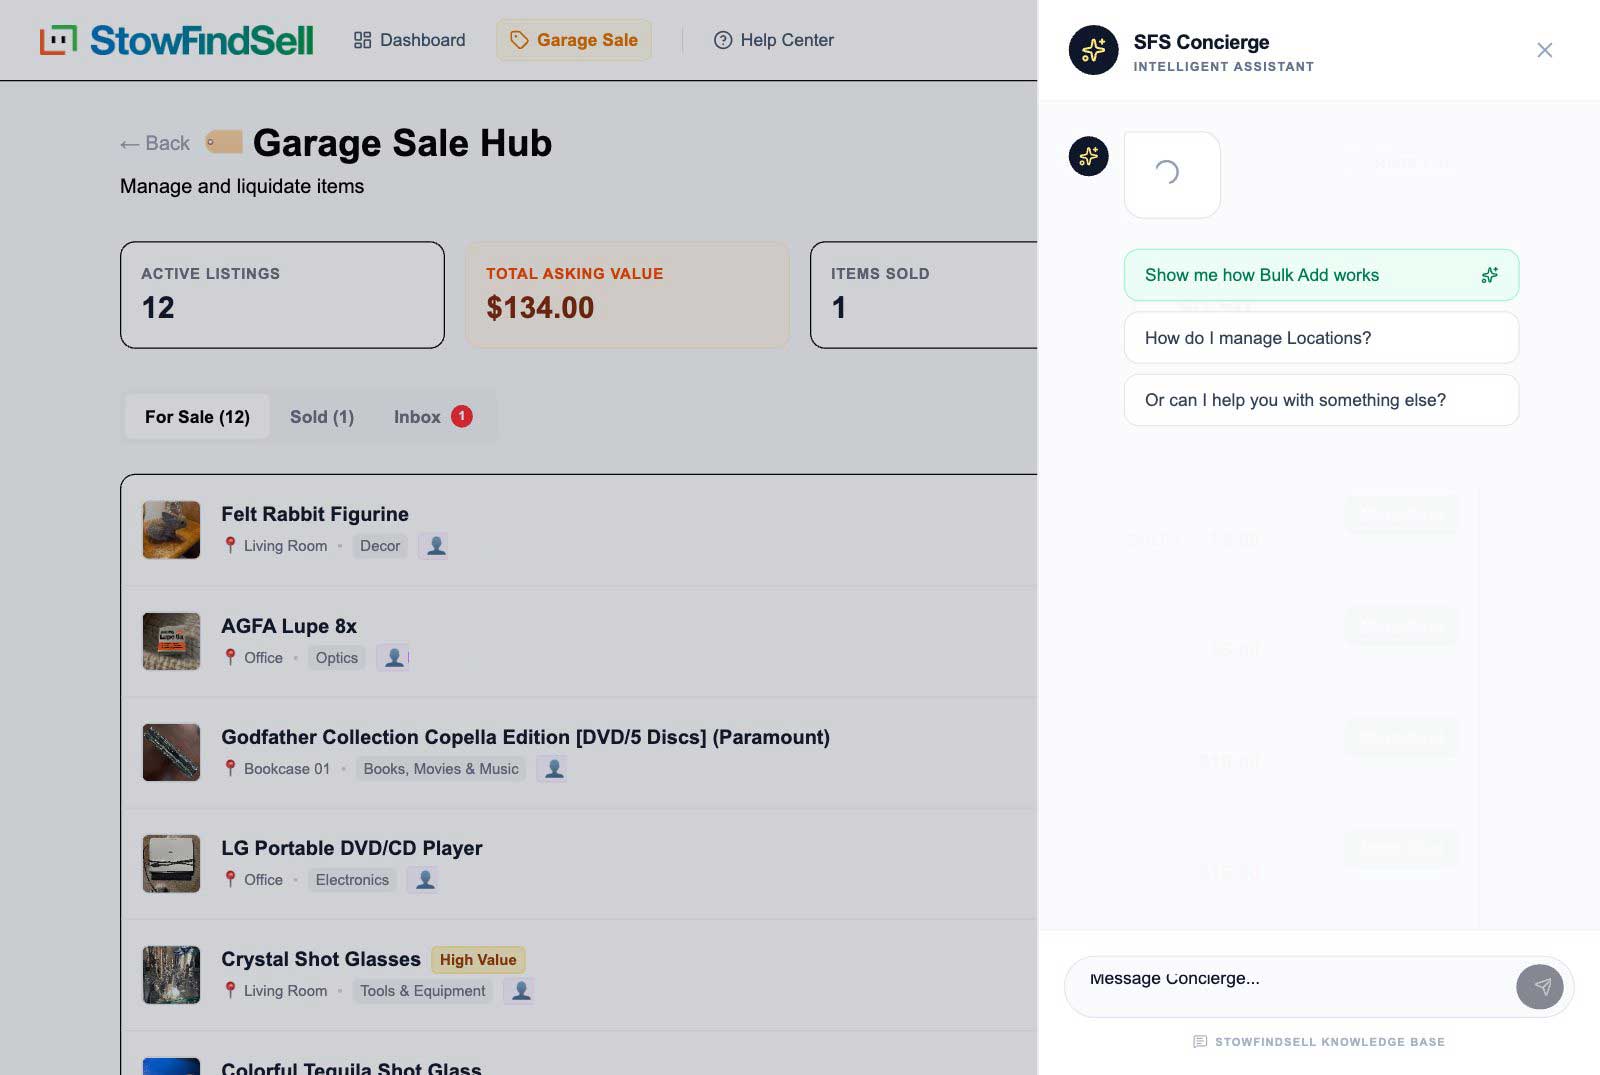
The Concierge button (top-right, on every page) opens your AI assistant. Ask it how-to questions ("how do I print QR labels?") or, on Family Pro, get personalized decluttering coaching — it knows your actual inventory and your household's goal, and guides you with professional methods like KonMari and the 90/90 rule.
Plans at a glance
Every household starts on the Free plan (100 items, manual entry). Starter adds barcode scanning, QR codes, and Proof Pack exports. Home unlocks AI Vision, the Garage Sale hub, and the Concierge with unlimited items. Family Pro adds the goal-aware AI Coach, bulk operations, and 6 household members. Admins can upgrade anytime in Settings → Billing — annual billing gets you 2 months free.
Where to next?
- Getting Started & Households — invites, roles, and account details
- Navigating the App — every menu, explained
- Locations & Containers — building your home's structure
- Adding & Managing Items — the full item toolkit
- Garage Sale Hub — from clutter to cash